This is the second article in the Zipic indie development retrospective series. In the previous post, developer Shili shared the birth process of Zipic from pain point to product.
In this article, we will focus on the “infrastructure” issues that give indie developers the biggest headaches—after deciding to leave the comfort zone of the Mac App Store, how to independently solve a series of thorny problems such as packaging, notarization, automatic updates, and global payment collection.
Hi everyone, I’m Shili 👋!
In this post, I want to delve into a more realistic and perhaps “discouraging” topic: Independent Distribution.
App Store vs. Independent Distribution
Many macOS developers, even after completing their product, are blocked at the threshold of “how to sell it.” Leaving the App Store means losing a ready-made payment and update system, and having to do everything yourself. But this was a step Zipic had to take. For freer permissions and a more direct relationship with users, I had to bite this bullet.
Zipic was initially listed on the Mac App Store. The benefits of App Store distribution are obvious: you don’t have to worry about update mechanisms or build your own payment system. But as iterations went deeper, I gradually realized some insurmountable problems:
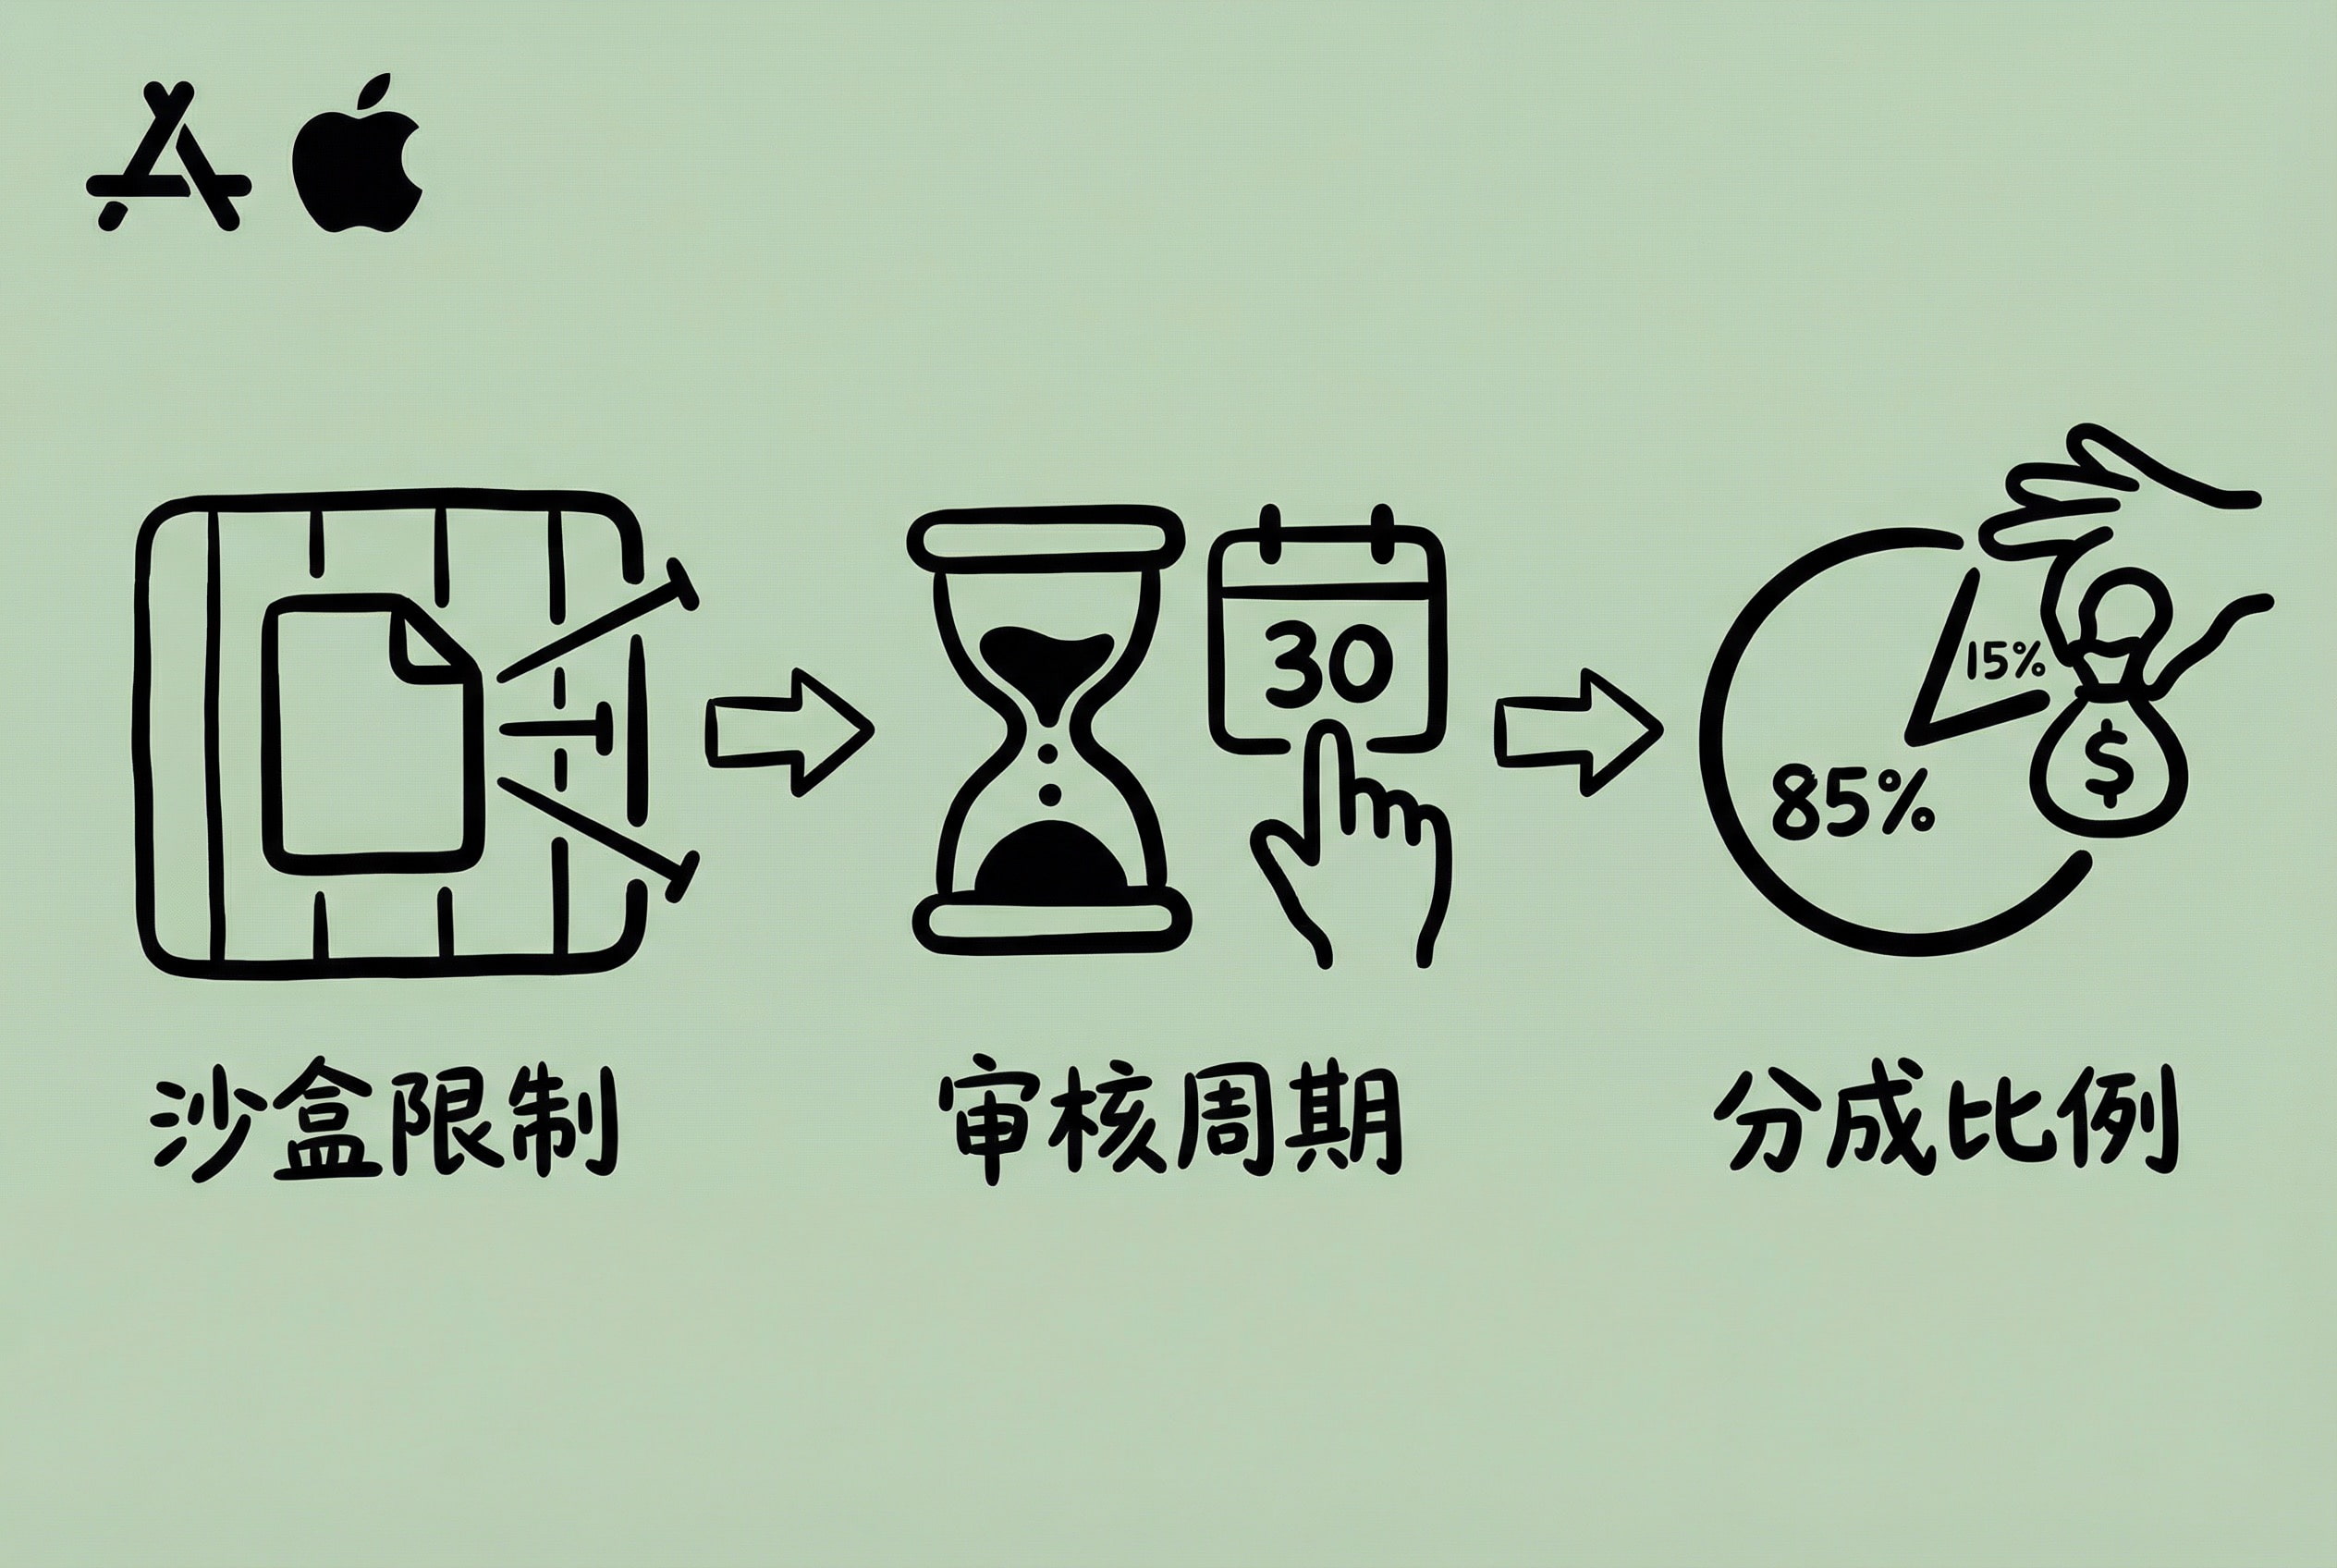
- Too many Sandbox restrictions: The Mac App Store requires apps to enable Sandbox. For an image compression tool, the most obvious issue is file read/write permissions—users want to save and overwrite the original location after compressing an image, only to find they don’t have permission. Although directory authorization can be solved through Security-Scoped Bookmark persistence, management is complex and the user experience becomes cumbersome.
- Uncontrollable review cycle: Submitting an update takes at least 1-2 days to go live, and even over a week during holidays. Bug fixes reported by users are quick to implement, but drag on due to review.
- Low revenue share: The default is 70%, and applying for the Small Business Program maxes out at 85%.
I want to make a tool with a smooth experience, but App Store restrictions make many ideas impossible to implement. Plus, with hopes to list on other platforms later (like Digitalychee), I would have to build an independent licensing system anyway. After weighing the pros and cons, I decided to switch to independent distribution.
Unless absolutely necessary, I sincerely suggest not messing with independent distribution; you will become very unfortunate 😂 It’s better to list directly on the App Store + apply for the Small Business Program.
Choosing independent distribution means you have to figure out the whole system of packaging, updating, licensing, and payments yourself. Be prepared; this will take a lot of energy and doesn’t fit the principle of a quick MVP. Of course, this is also a once-and-for-all job; once prepared, other products can easily reuse it.
DMG Canvas Packaging Process
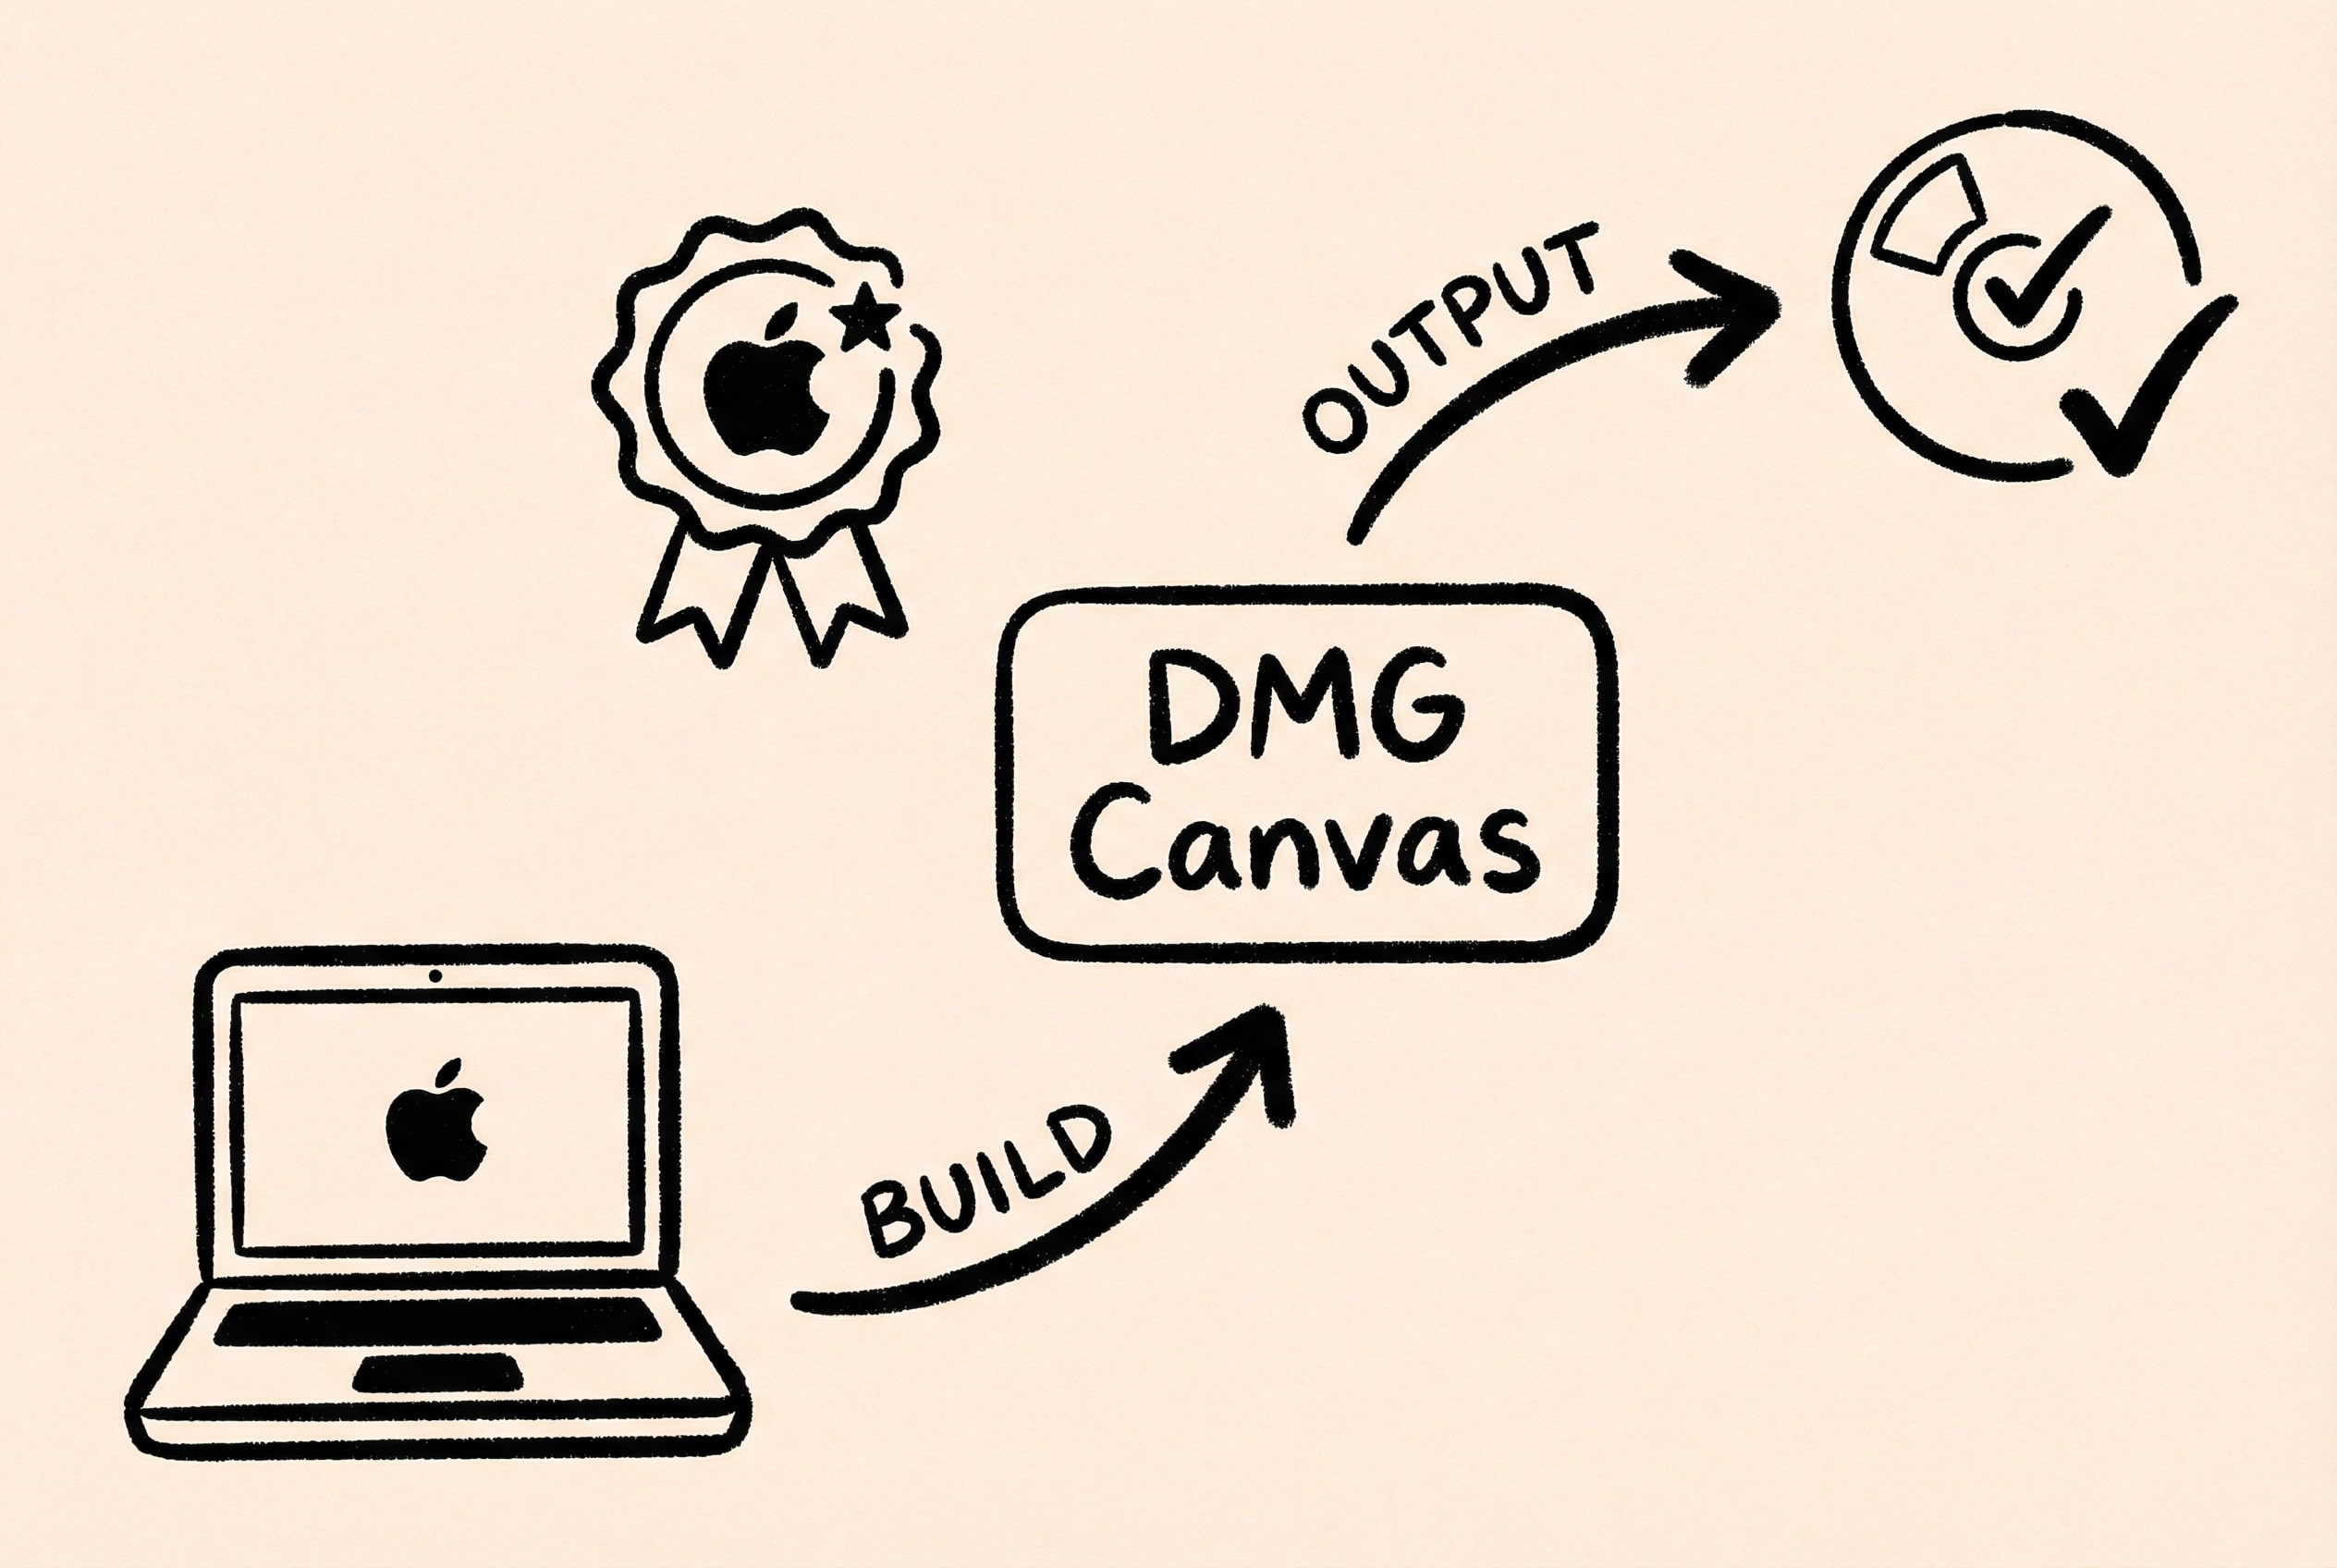
After the application development is complete, it needs to be packaged into DMG format for distribution. Creating a DMG simply with Disk Utility results in a rough look. Professional app DMGs usually have beautiful background images, carefully designed layouts, and automatically set window sizes. Making them manually is tedious, and more importantly, the macOS Notarize process is quite complex. If configured incorrectly, users will see a “file is damaged” prompt after downloading.
I use DMG Canvas, a WYSIWYG editing interface where you can customize backgrounds, icon positions, and window styles. After configuring the template, each packaging only requires selecting the new version of the app bundle and rebuilding. It also integrates the notarization process. After configuring the App-Specific Password and Team ID, and checking the “Notarize” option, it will automatically upload to Apple servers for notarization after packaging is complete, automating the entire process.
For specific operations, refer to: Packaging macOS apps as DMG using DMG Canvas.
Using Sparkle for Automatic Updates
Independent apps also need to solve the update mechanism. How do users get new versions promptly after downloading and installing? Manually downloading and overwriting installation is a poor experience, and you also have to consider security and ensure the update package hasn’t been tampered with.
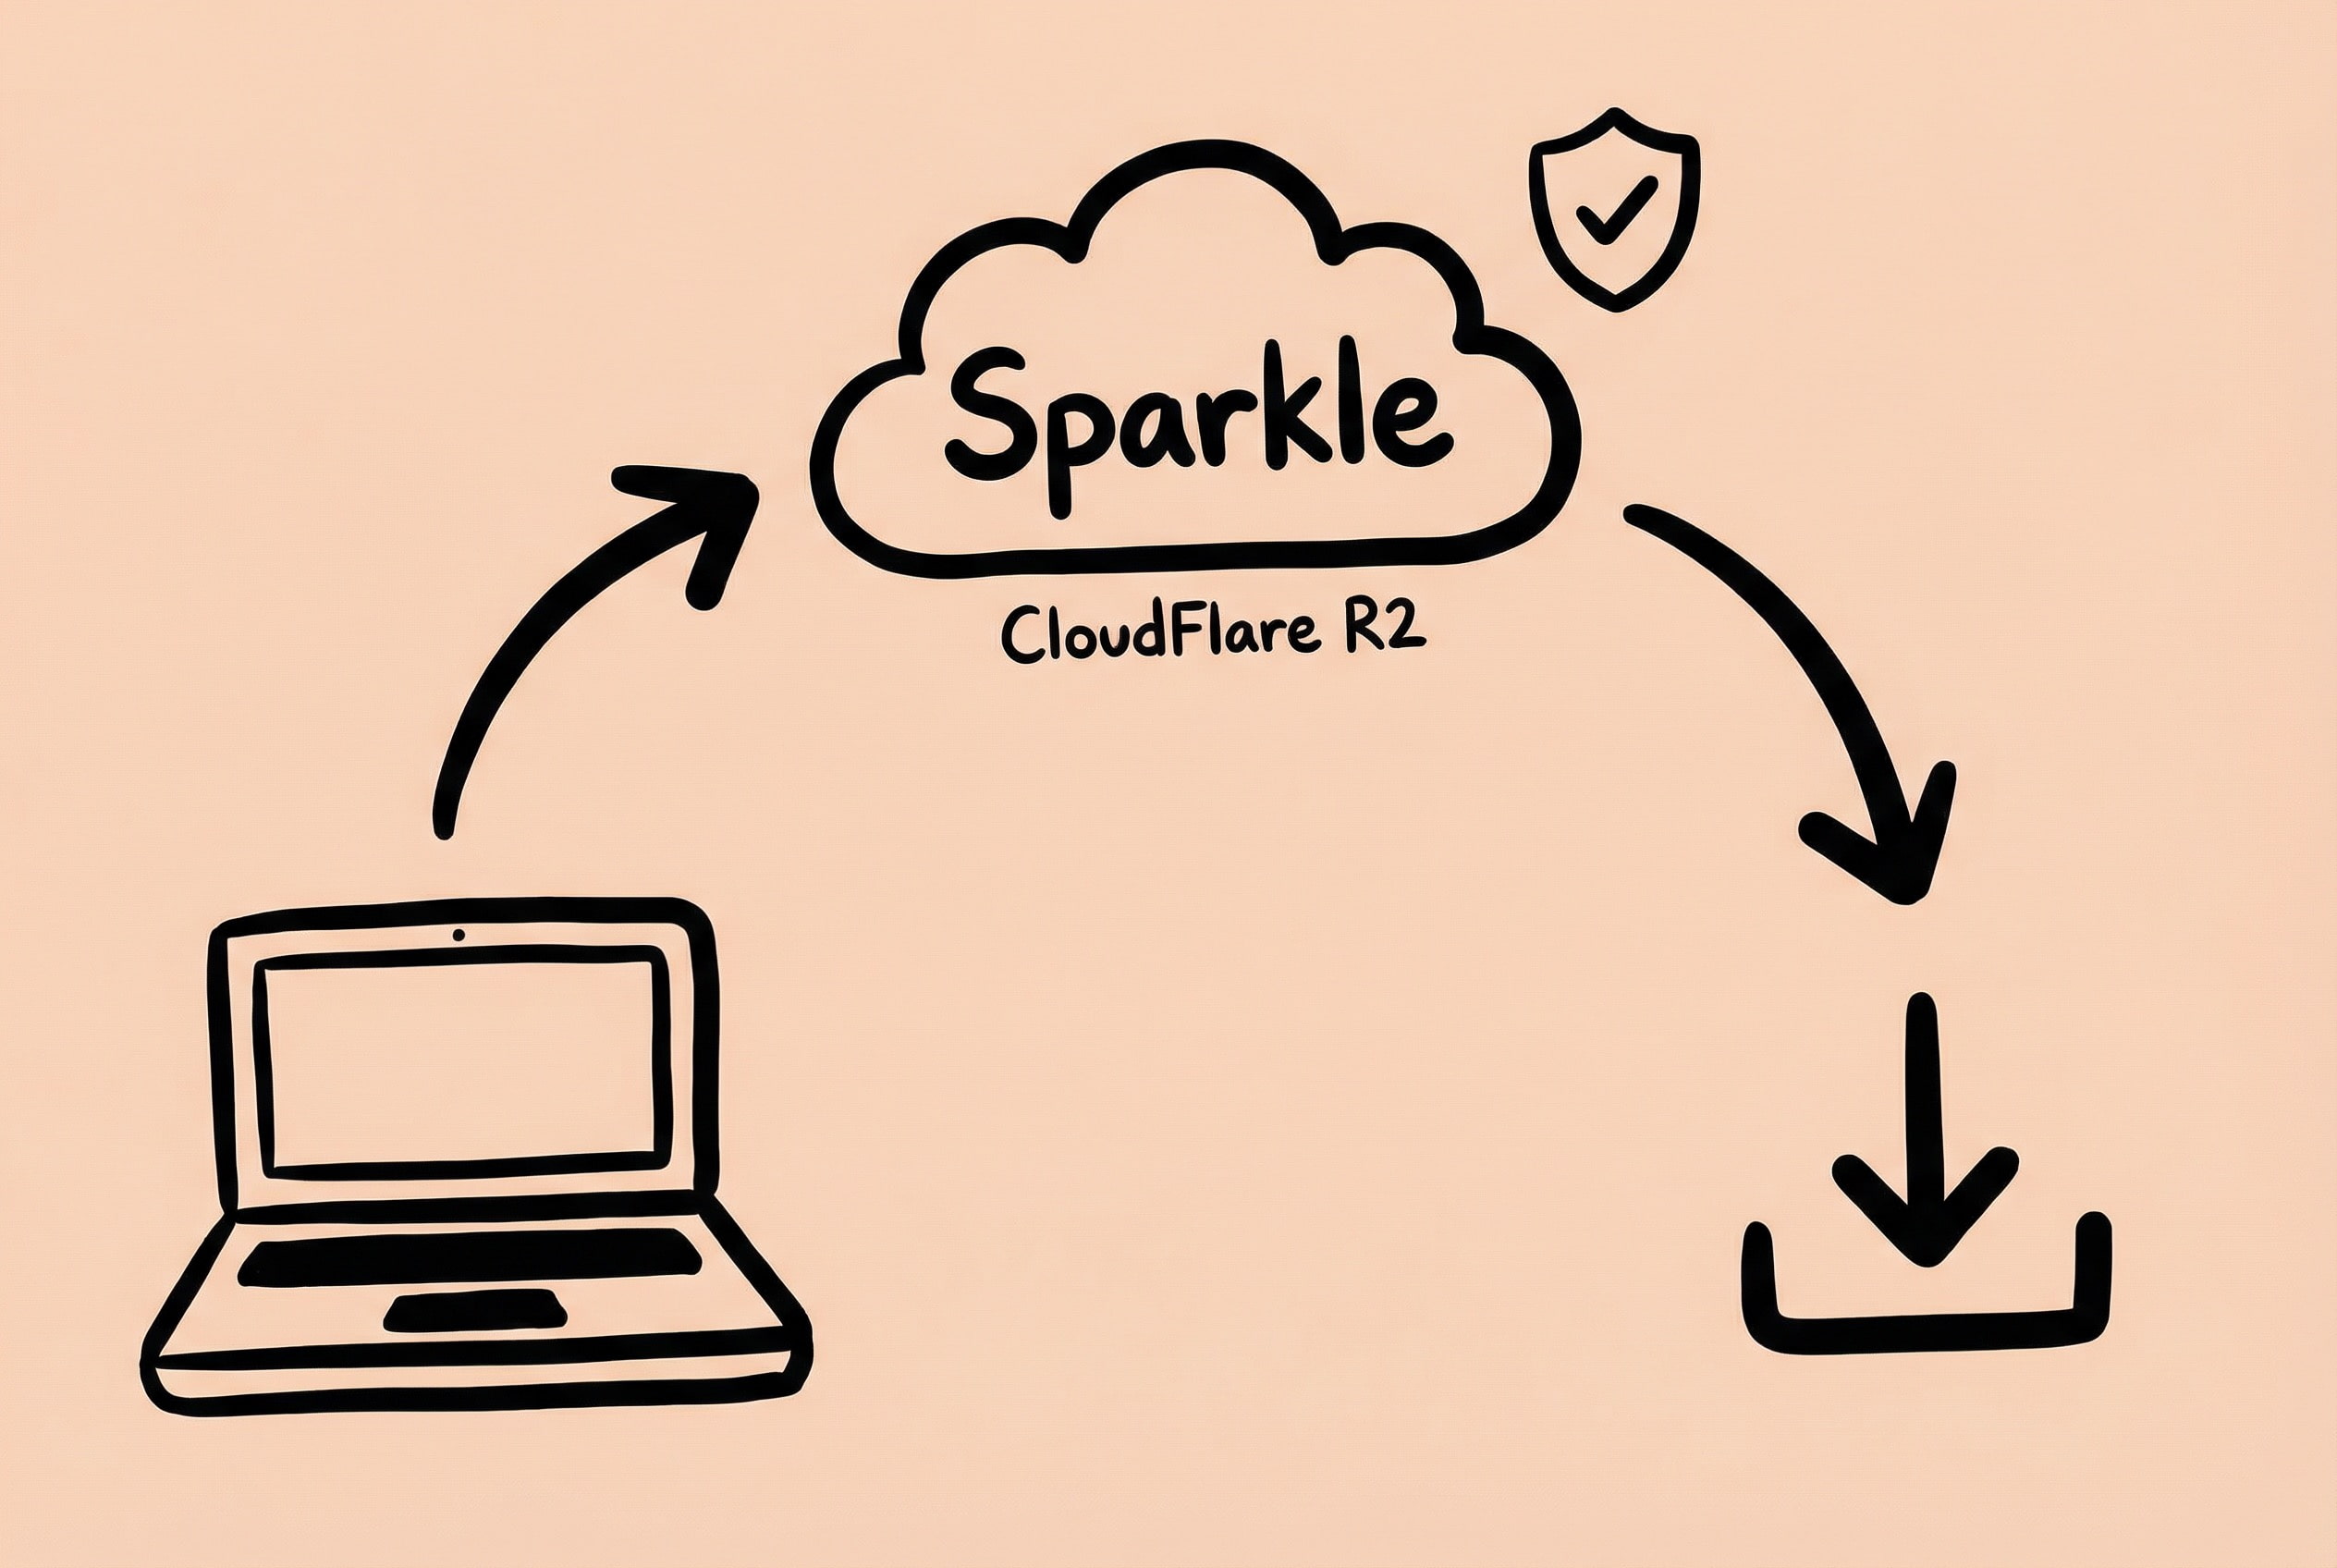
Sparkle is the most commonly used automatic update framework on the macOS platform, used by many well-known apps. It supports signature verification, incremental updates, release note display, and basically has all the necessary features. The integration process isn’t too complicated, mainly configuring the Appcast (update information file) and signing keys. Automatic updates can be achieved by adding a small amount of code. Appcast is an XML file that records the latest version number, download address, update notes, etc. Sparkle periodically checks this file and prompts the user to update when a new version is found.
Detailed usage steps are written in this article: macOS Development - Easily Implement App Update Management with Sparkle
Pitfalls: For file hosting, I ultimately used CloudFlare R2. Compared to GitHub Releases or self-built servers, R2 has obvious advantages—global access (including China), storage limits but unlimited traffic, and custom domains, ensuring distribution stability while controlling costs.
Also, Sparkle automatically generates delta packages (incremental update files), which can significantly reduce user download volume. But remember to upload these delta files to the hosting service together, otherwise incremental updates will fail. The directory structure must be consistent with the path in appcast.xml.
Licensing System
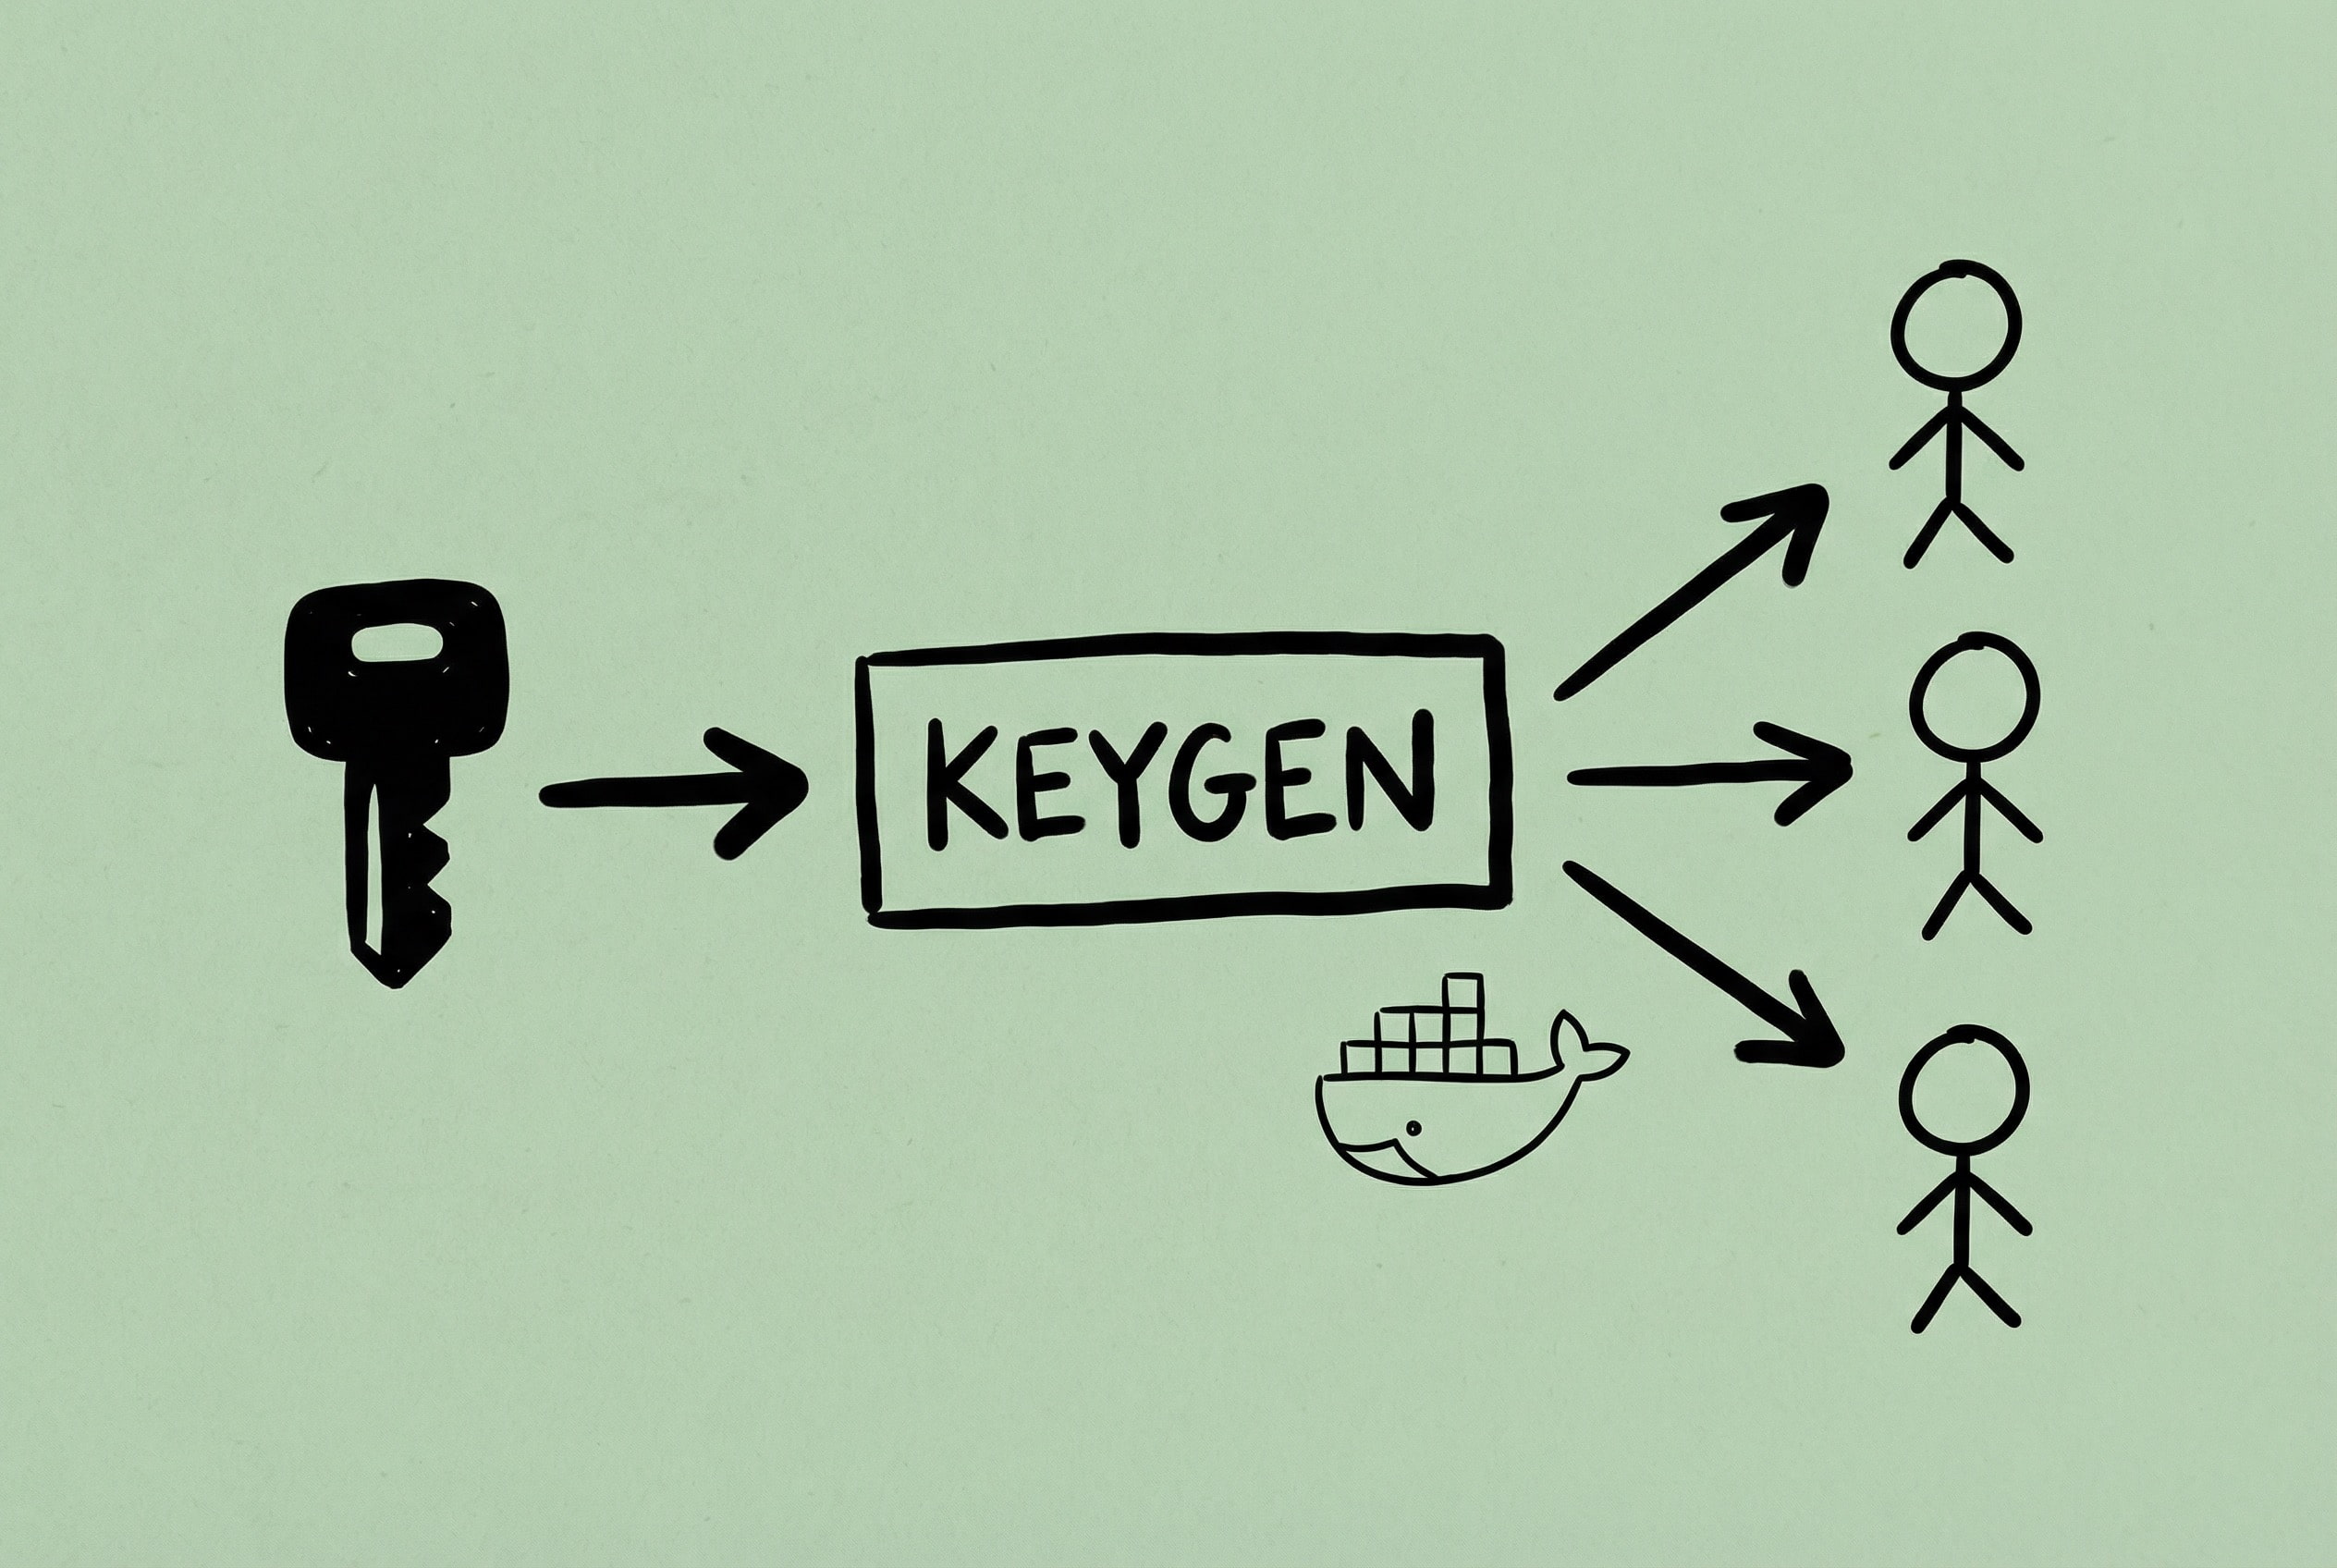
Zipic uses key verification for activation. There are Free and Pro versions, requiring a system to manage licenses and verify user purchase status. The requirement is special: it needs to support multiple sales platforms (Digitalychee, official website store, etc.), and orders from each platform must be able to automatically generate authorization codes.
I chose the CE (Community Edition) of Keygen.sh for self-deployment. Keygen itself is a commercial license management service, but it provides an open-source community version. The functions are basically sufficient, supporting license generation, verification, usage statistics, etc. The benefit of self-deployment is complete control over data and customization on demand. Deploying it on my own server using Docker, configuring the database and Redis, and the system is up and running. Through a self-implemented Webhook service connecting to various e-commerce platforms, authorization codes are automatically generated and sent to users after order completion.
For the detailed deployment process, see this article: Software Licensing with Keygen.sh - Self-hosted Service
Pitfalls: Docker network configuration is a pit. Keygen needs to connect to the database and Redis. Initially, using the default network, the service couldn’t connect to the database after starting. Later, creating a custom network solved it. Additionally, if connecting directly to third parties with Keygen, try to minimize the scope of permissions for third parties by providing product tokens for generating Licenses.
Payment System Integration

Independent distribution also needs to solve a key problem: How do users pay? I stepped into quite a few pits here.
As a developer from China, Shili encountered significantly more difficulties in achieving global distribution and global payment collection than developers in many other regions.
Initially, I used LemonSqueezy. It had full features—payment, key management, affiliate marketing, email marketing all in one. But after being acquired by Stripe in 2024, new account applications from Chinese nationals were basically ignored, so this path is not recommended.
Some people online suggested registering a Hong Kong Stripe account as an individual. It’s technically feasible, but without a real Hong Kong identity, there are always compliance risks. Withdrawal also requires a Hong Kong bank card, so it’s not a long-term solution.
Eventually, I took the route of registering a US company to use Stripe. The process was full of twists and turns: Registering the company was fairly smooth through Stripe Atlas, then opening a corporate bank account. Many recommended Mercury Bank, but I failed dozens of times. The proof materials were complete and accurate, but it still failed, presumably because my name coincided with some sensitive figures. Finally, applying for an Airwallex account solved the corporate bank account issue. Registering for corporate Stripe also requires a US phone number; I used Ultra Mobile PayGo, with a monthly rent of only $3.
- There is another way to register a US company: self-register a company in Wyoming (about $150), then apply for an EIN federal tax ID (agent about $39).
- If possible, it is best to get some Hong Kong bank cards. Recommended are HSBC Hong Kong, BOCHK, ZA Bank. HK cards can be used for Stripe personal account withdrawals, Paypal withdrawals (very low fees), and revenue return from the corporate bank account bound to Stripe.
As far as I know, different identities suit different solutions:
- Individual Entity Going Global: Recommend Creem, followed by Paddle.
- Domestic Corporate Entity: Can consider Paddle.
- Foreign Entity (US/UK Company): Suggest using Stripe.
- Domestic Only: Lantu or Zpay.
If you are interested in Paddle, you can refer to: Register and Verify Paddle Account in Two Days
There is another idea: Don’t build your own payment system, connect directly to sales platforms. For example, Digitalychee only requires implementing a key distribution interface. There are similar platforms abroad, such as Setapp (currently only accepting AI apps) and AppSquad, which you can explore if interested.
Connecting Payments and Key Distribution

With Stripe handling payments and Keygen managing authorization, the problem is that these two systems are independent. After a user pays, I still have to manually go to Keygen to generate a license and send an email—this process is obviously unacceptable and must be automated.
My solution is to build a Webhook service as a middle layer (building with n8n should also work 😉). The core idea is to establish a mapping relationship between Stripe products and Keygen authorization policies. For example, “Zipic Personal - 1 Device” is a price ID in Stripe and corresponds to a specific Policy in Keygen. The service is configured with this correspondence. Then register a Webhook address in the Stripe dashboard to subscribe to payment completion events like checkout.session.completed.
After the user completes the purchase, Stripe immediately sends a notification to the service, and the service automatically completes the following upon receipt:
- Find or create a user in Keygen (based on email).
- Call the Keygen API to generate the corresponding license based on the purchased product.
- Send an email via Resend containing the license key and activation instructions.
The whole process is seamless for the user; they receive the license in their email seconds after successful payment.
Pitfalls: Webhook idempotency is important. To ensure message delivery, Stripe may send the same event multiple times. Without handling, users might receive multiple emails or generate multiple licenses. The solution is to record processed event IDs and skip duplicate requests directly. Email sending also needs to consider failure retries. I added a retry queue, and all sending records are stored in the database for easy troubleshooting and manual re-sending.
What’s Next
At this point, Zipic finally has a complete distribution system of its own: from code submission to automatic packaging and notarization, from global payment collection to automatic license issuance, and to insensible incremental updates on the user end. Although the initial setup process was very cumbersome and involved many “pits” not written in the code, once it’s up and running, it is an automated asset that can be reused for any future product.
With the sales channels sorted out, we can finally return to the code itself.
In the next article, Technical Retrospective, I will share the pure technical challenges encountered during the development of Zipic: SwiftUI’s maladjustment on macOS, how to use ImageIO to reduce memory usage by a thousand times, and the black magic of Core Graphics handling PDF.
See you in the next post!